
Creating your own backgrounds using art mediums is all the rage in the scrapbooking world right now and there are so many ways to go about this. On the blog today I’m sharing a recent page created using a 30.5cm x 30.5cm canvas panel as the base for my layout as well as gesso, matte paint, a stencil and ink.
I’ve chosen to use a canvas panel instead of regular cardstock or patterned paper to create this layout to add that little touch of extra texture and depth to my page. Before starting I had a rough idea of how I wanted the layout to evolve – using the edges and bottom of my background to place my photo and elements. This meant I would have a large amount of empty space in the middle and towards the top of my page, so rather than leave that area blank I decided I wanted to use art mediums for that little extra touch of special.
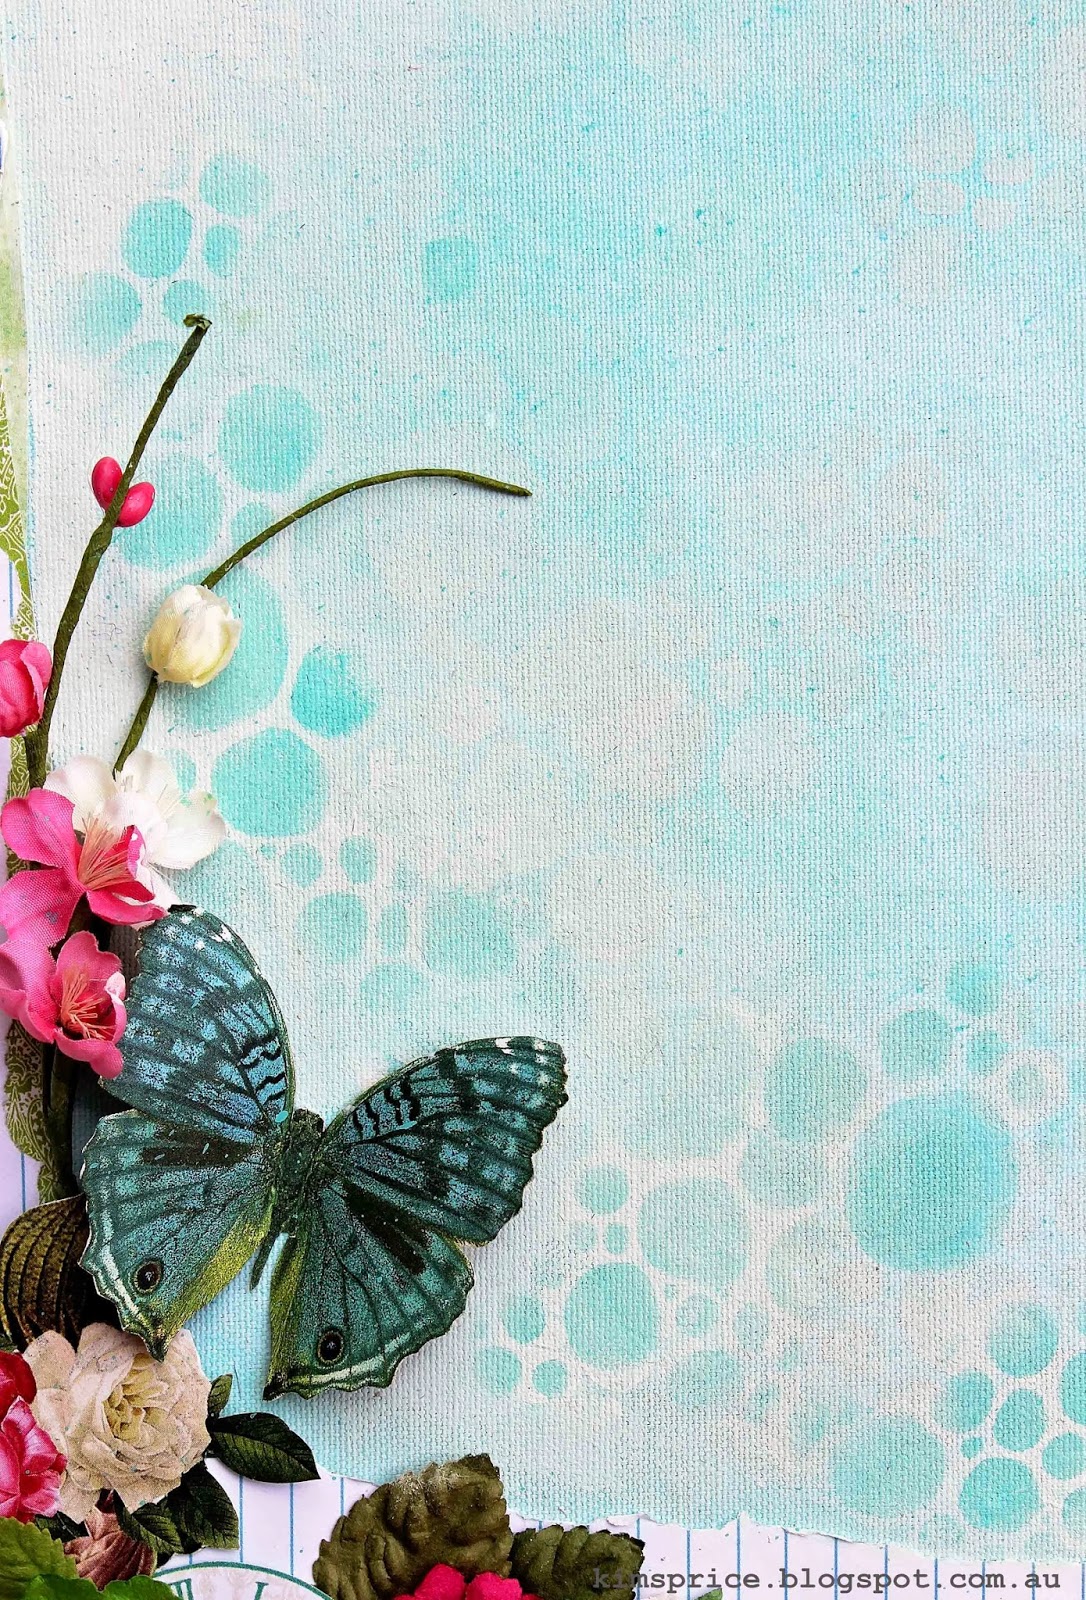
Having already chosen my photograph and papers from Websters Pages Postcards From Paris II collection all I needed to do was choose a coordinating paint colour and a stencil. I love working with matte acrylic paint and here I have chosen a shade of aqua along with one of my favourite stencils to create further texture and a personalised look. This was simply a matter of placing my stencil down on the layout and dry brushing a little of the colour here and there through the stencil. The result is a soft shadowed effect – perfect for background work as it doesn’t overpower the rest of your layout.

I love adding a layered look to my layouts as well, and one of my very favourite techniques for this right now is to tear my patterned papers and layer them up for an eclectic and fun look. I also like to choose elements from my papers to include in flower clusters like I have done here with the clock face images. You can either punch them out with a circle paper punch if you happen to have one in your stash or carefully cut around them using sharp paper scissors. You can also add a touch of dimension by layering smaller sized elements over larger elements placing a piece of dimensional adhesive foam between them.
Making the most of your patterned papers sometimes means looking at them in a different way to the norm. I also love to break papers down into colour ignoring the pattern altogether or to choose an interesting design element to create balance like I have done on the far right side of my page with the two printed border patterns. By layering these two border patterns on the very edge of my page I have created definition, or closure which leads the eye back to the main subject of the page – my photograph.

I also like to create balance within my layouts. Here I have done this by placing the large fussy cut butterfly element from my patterned papers on the opposite side to my photograph. If I were to remove the butterfly from my page it would look slightly unbalanced, or unfinished.

And usually the very last thing I add to a page is my title. While I am creating a page, a title or catchphrase will often pop into my head and this is normally how I will end up naming the layout. Stacking my words along the right side of my layout has also helped to give balance by creating a horseshoe shaped design.
Thanks for joining us today at Scrapbook Creations. — Kim
Kim’s online portfolio links:
Blogspot | Facebook | Pinterest | The Scrapbook Store | Scrapbook.Com
 If you’re interested in publishing a guest post with us, please email Ellen at scrap.editor [at] gmail.com with the subject SC Blog GUEST POST. (This will make sure it doesn’t get filtered as spam.)

Such a beautiful page Kim, I really love the subtle colour and pattern of the background, thanks for sharing your technique.
Thanks Kim for sharing. It’s an awesome piece of work. Love it 🙂
its beautiful !